Wireless Assembly
How to build an IOT Hotdog.
Parts list
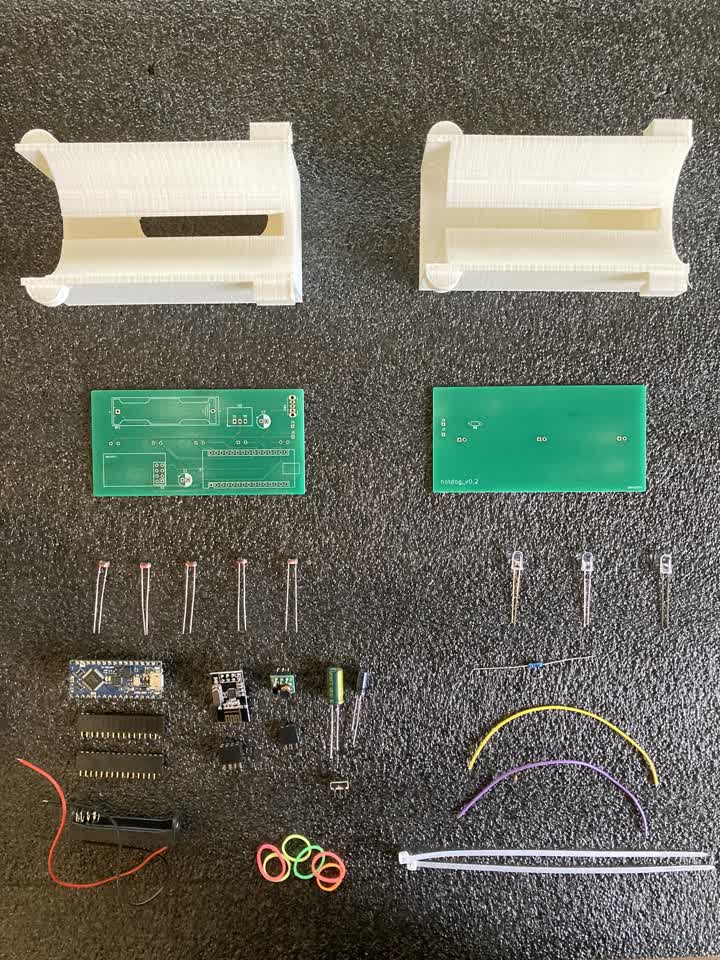
Custom Parts
3D Print
Order PCBs
Estimated Cost : 10 - 20 US$ per PCB
Specifications:
- Solder Mask :
Yes - Thickness :
1.6mm - Layers:
2 - Size :
100 x 50 mm - HASL :
Yes
Stock Parts
-
A1: Arduino Nano or compatible + two1x15pin female headers -
BT1: AAA battery holder (thru-hole mount recommended) -
C1:10 - 100uFcapacitor (optional) -
C2:~1000uFcapacitor (optional) -
D1-D3: three white LEDs, I used334-15/T1C1-4WYA -
12cmlong hook-up wire connectingJ1toJ4 -
12cmlong hook-up wire connectingJ2toJ3 -
R1-R5: five GL5528 photoresistors -
R6: 1kΩ resistor (or lower if you're using less bright LEDs) -
SW1: SPDT switch -
U1:nRF24L01+ a2x4pin female header -
U2:0.8 - 5Vto5Vboost converter + a1x3pin female header -
A transparent sleeve, I used This one.
-
Mini zip ties
-
Rubber bands
Programming
Arduino Nano
Extract this Zip file and upload
the file hotdog-fw.ino.hex to
the Nano using XLoader.
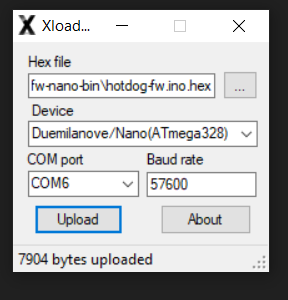
Windows
By default you should be able to
use COM0, if not try other ports.
Other
Nano-compatible microcontrollers
Compile & upload the Firmware using the Arduino IDE.
Dependencies
- Protothreads
- BTLE
- RF24
Assembly
Soldering Font PCB
-
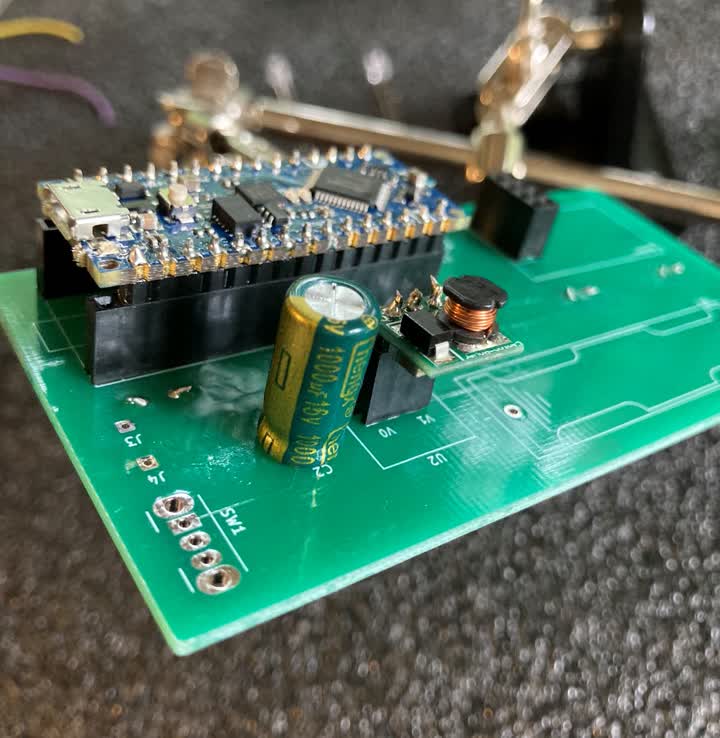
Place the
1x15headers on the Nano.I didn't have 1x15, so I cheated and yanked
out one of the terminals from a1x16.Don't be like me.
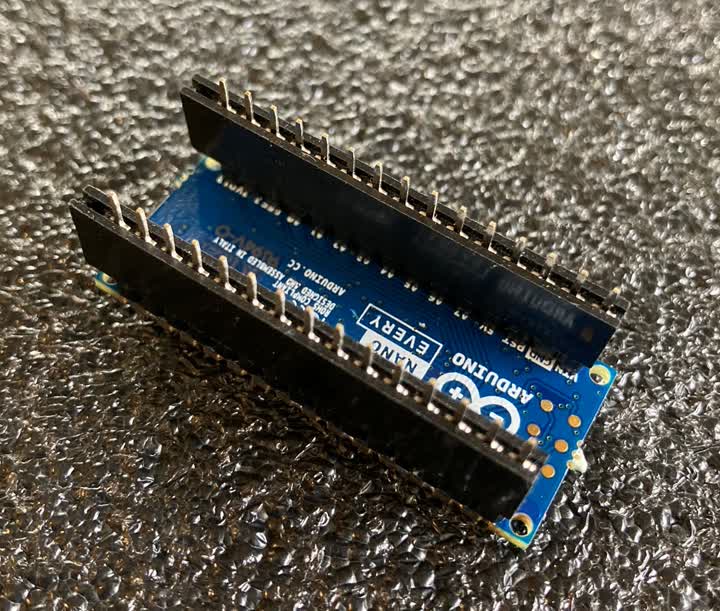
-
Solder the micro-controller to the PCB with
its USB connector facing towards the edge.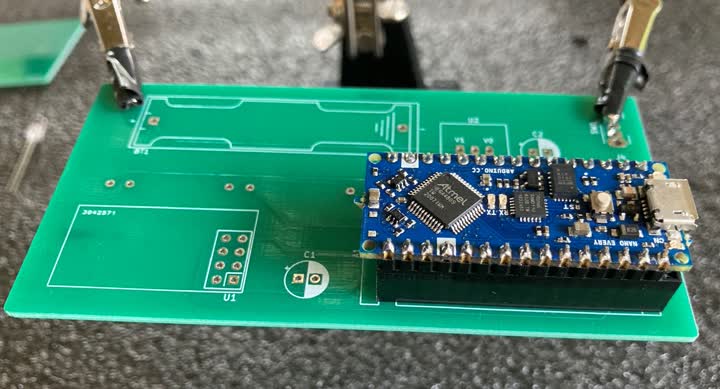
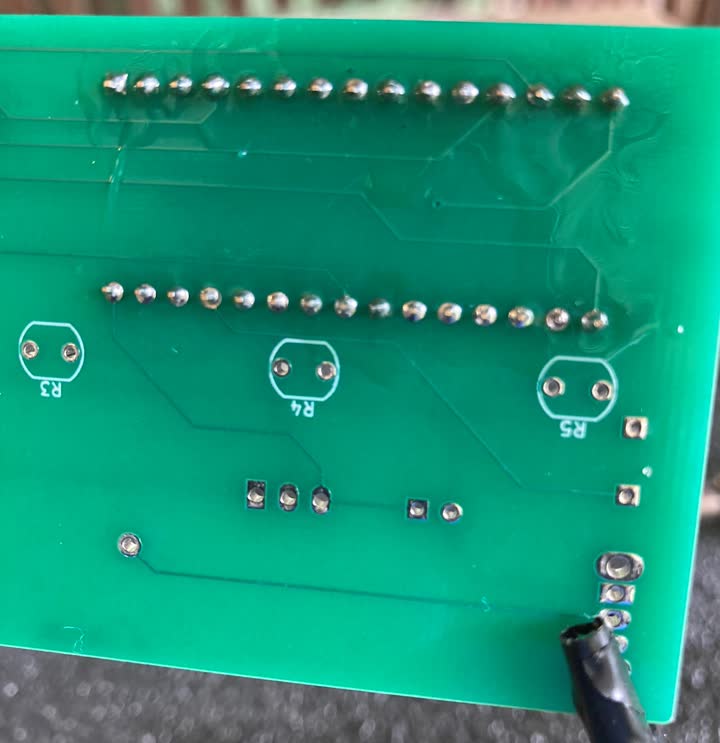
-
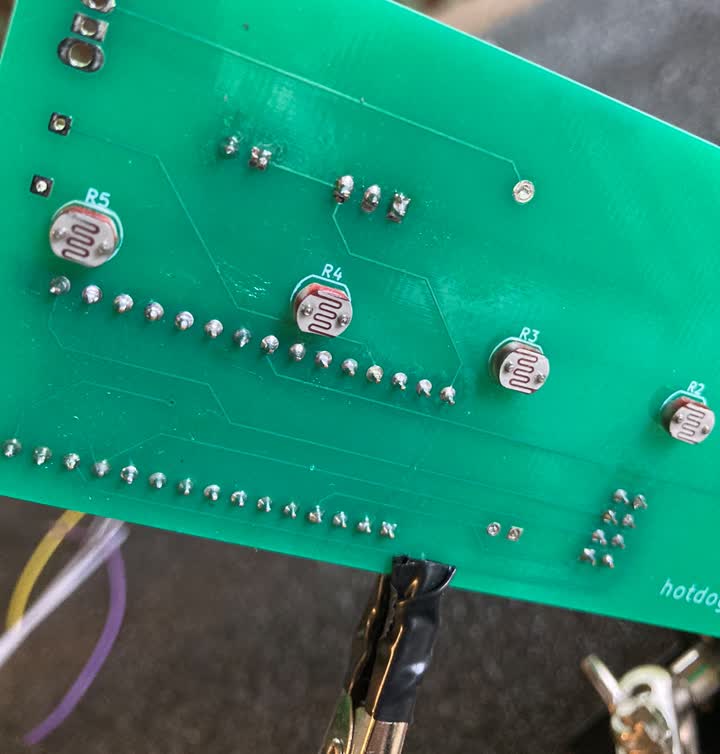
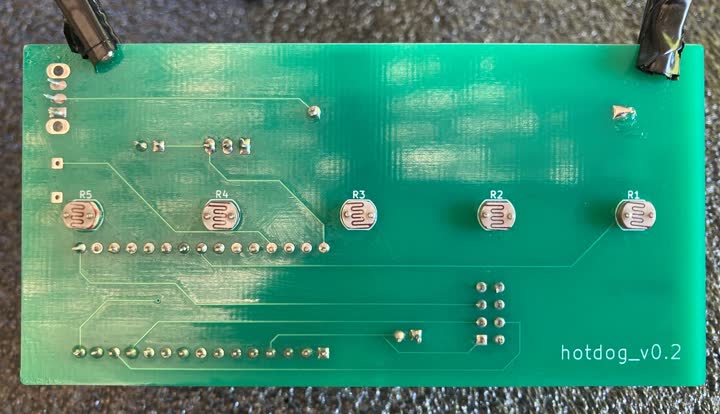
Solder the photo-resistors to
R1-R5
on the opposite side of the PCB.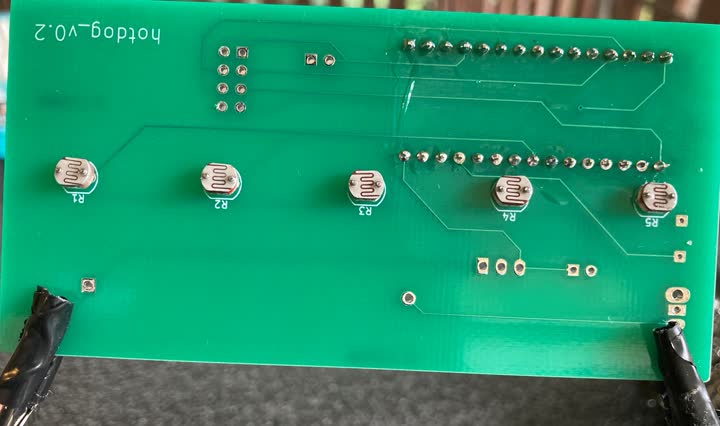
It is recommended to clip the leads off
before soldering to minimize heat loss.I prefer to also bend the wires in before clipping
them short, so the parts won't come loose.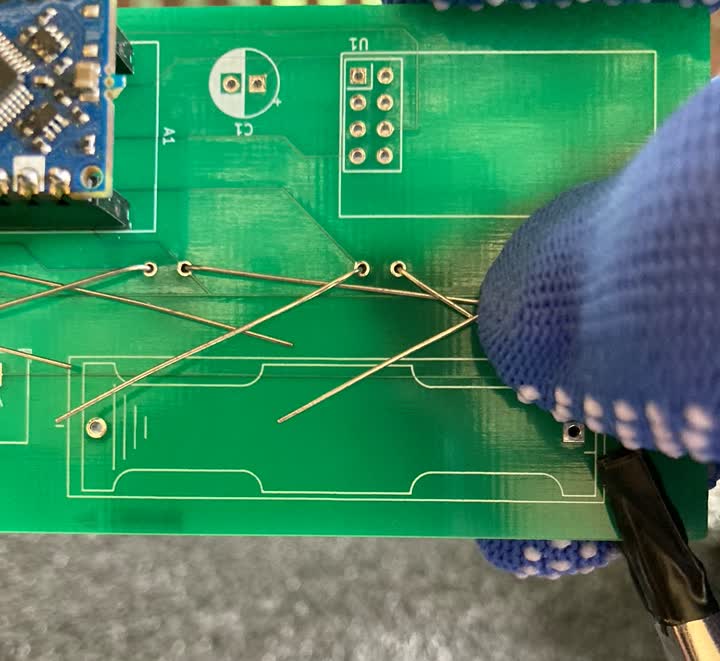
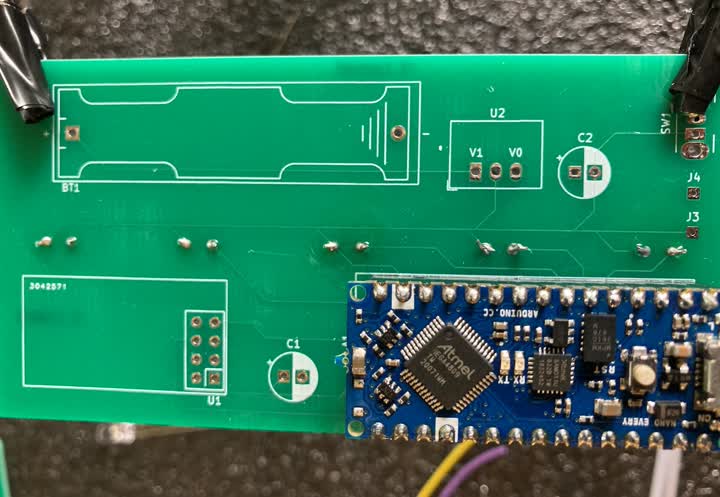
-
Solder the
2x4header toU1.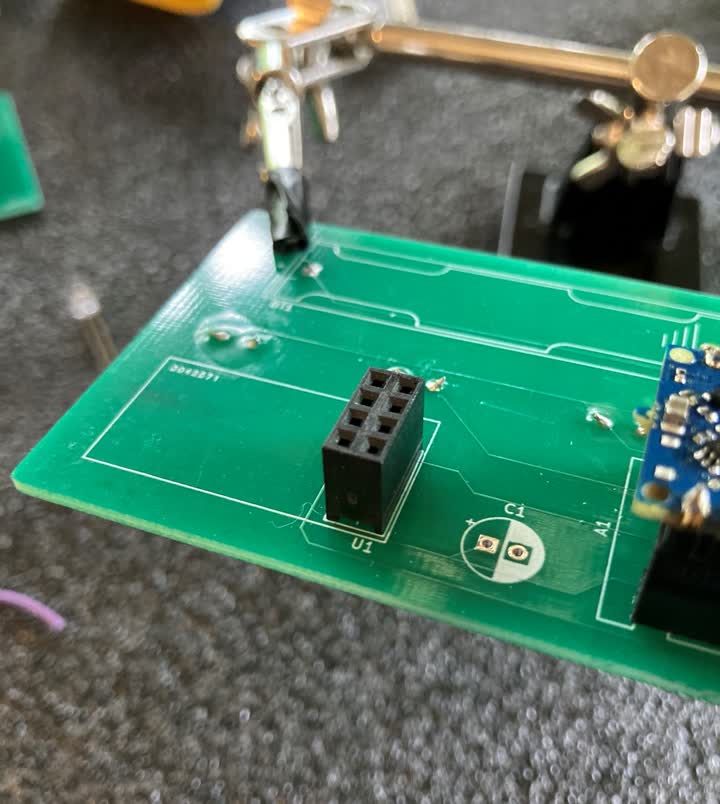
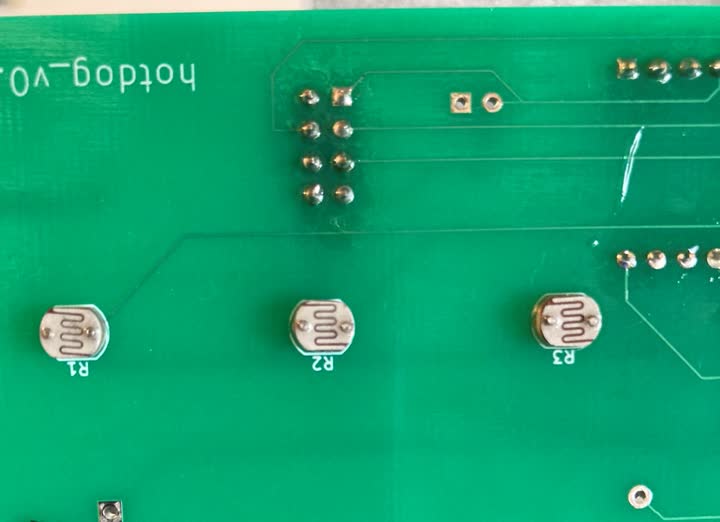
-
Put the
1x3female header on the
boost converter and solder it toU2.Make sure
V1andV0are aligned
with the markings on the PCB.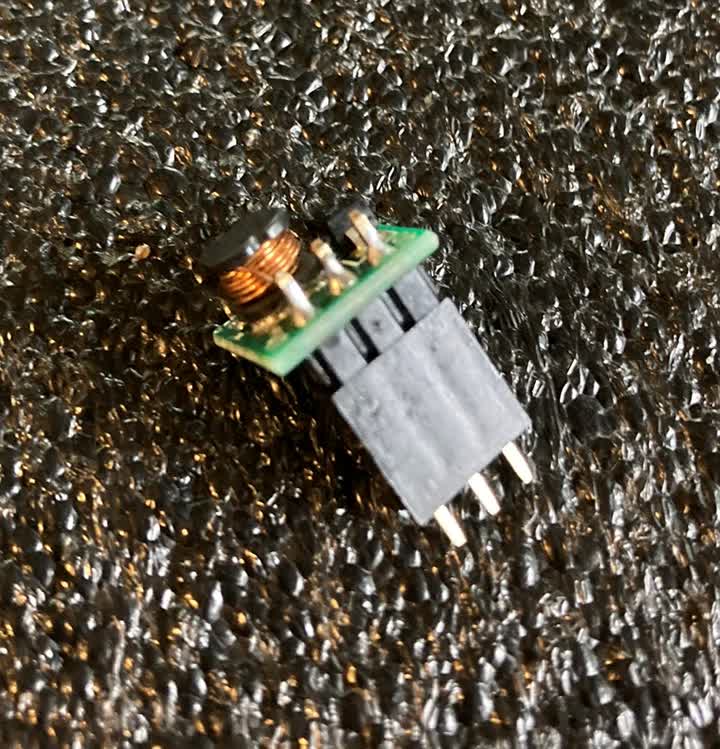
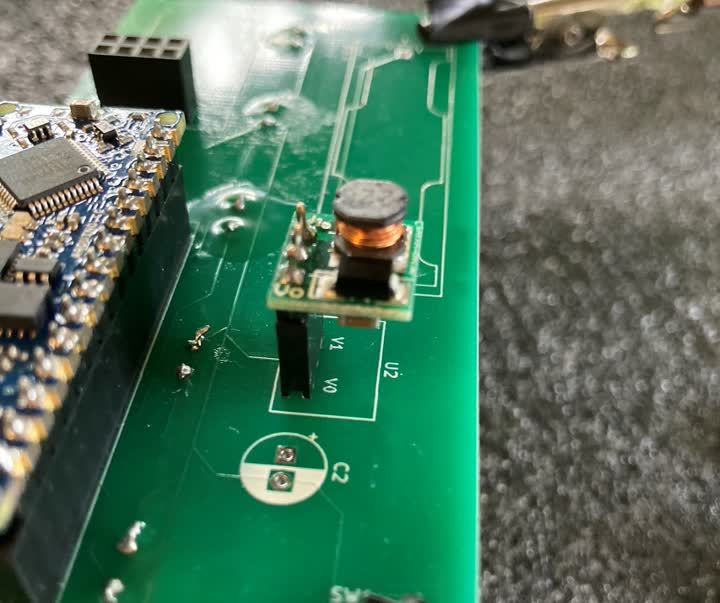
-
Solder a capacitor of about
1000uFtoC2.Mind the polarity.
-
Solder the SPDT switch to
SW1.The terminals should go into the three holes in the middle.
Mine was a bit over-sized, but as they
say, if there's a hole, there's a way.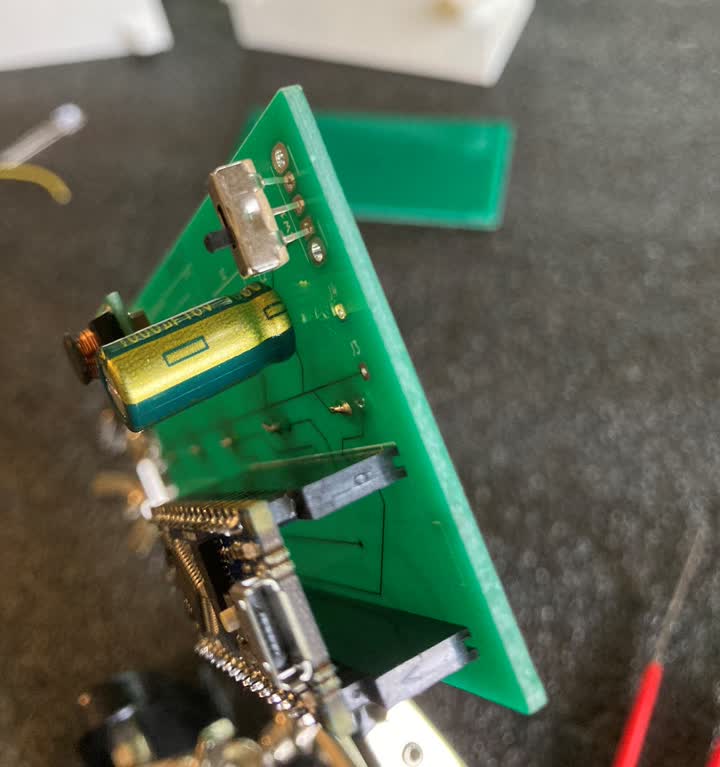
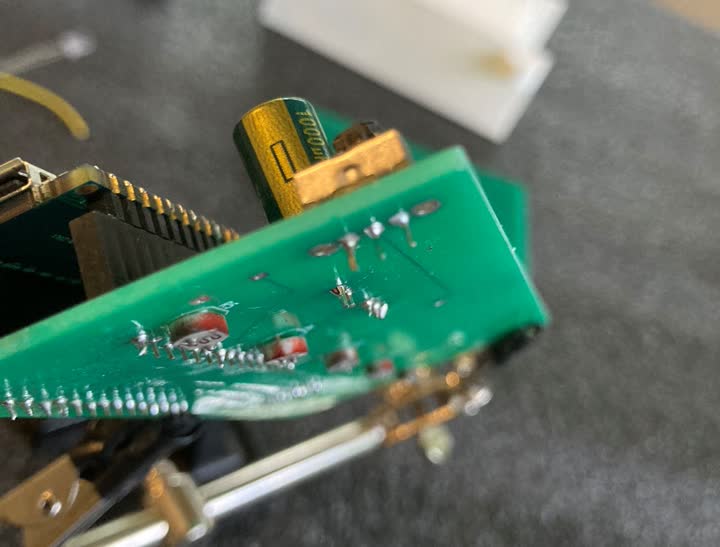
Words to live by indeed.
-
If you have a thru-hole mount
1xAAAbattery
holder, you can go ahead and solder it toBT1
and skip to step 13.Mind the polarity
If you're using a cheaper battery holder like
I did, we need to take a few extra steps.This can get quite messy though, so in
retrospect I absolutely recommend
getting a proper thru-hole mount.
-
First, trim both wires to about
2cm, and put some
deep scratches into the bottom with a sharp object.This is crucial to ensure proper adhesion
to the board, so carve it up like a psycho.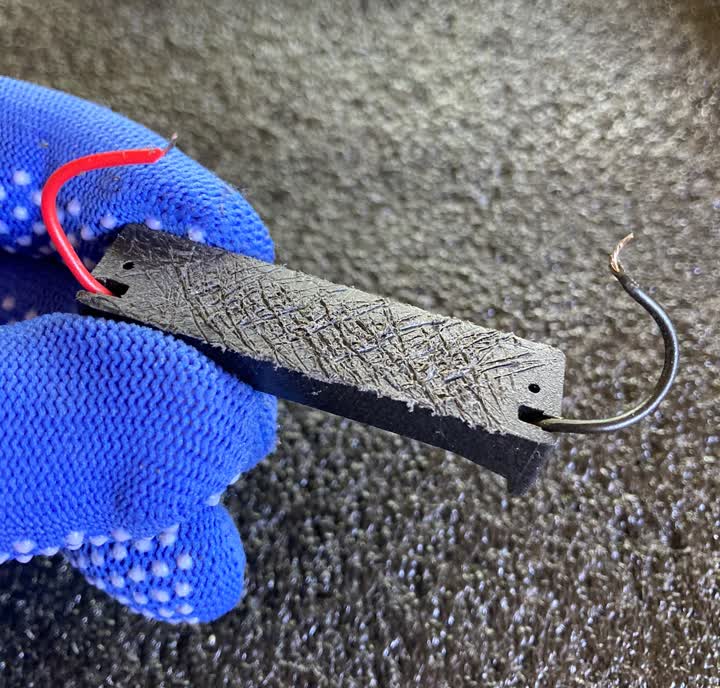
-
Then solder it to
BT1in the correct polarity.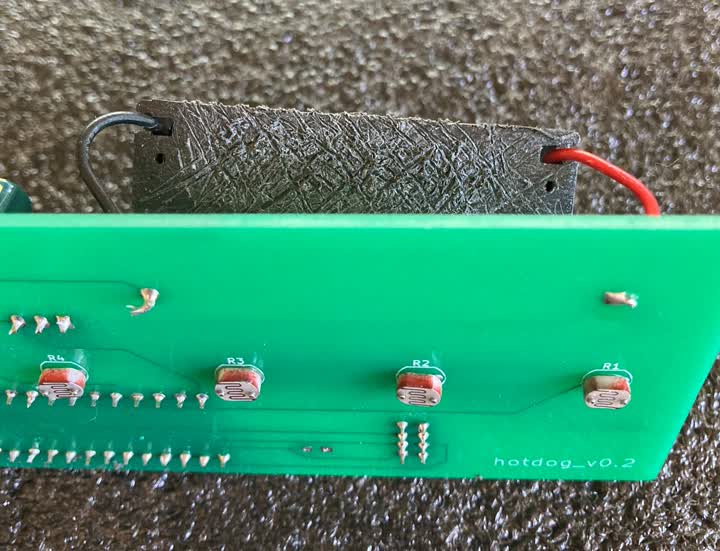
-
Clean both the
BT1footprint and the
battery holder with isopropyl alcohol. -
Glue the battery holder to
BT1with epoxy.⚠ Make sure there is at least
5mmclearance
between the battery holder and the edge of
the motherboard.It doesn't have to be precisely on the footprint,
but do not place it any further below that.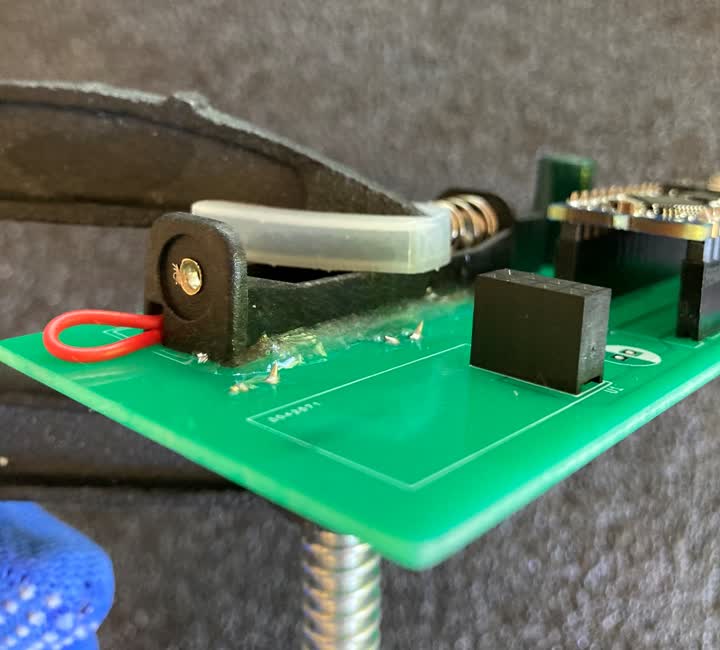
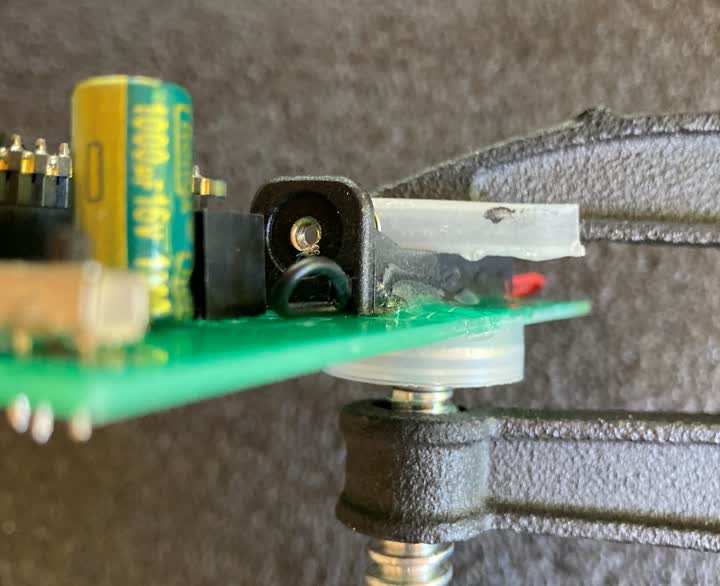
Clamp it down and wait for the glue to dry.
Meanwhile, you can start assembling the Back PCB.
-
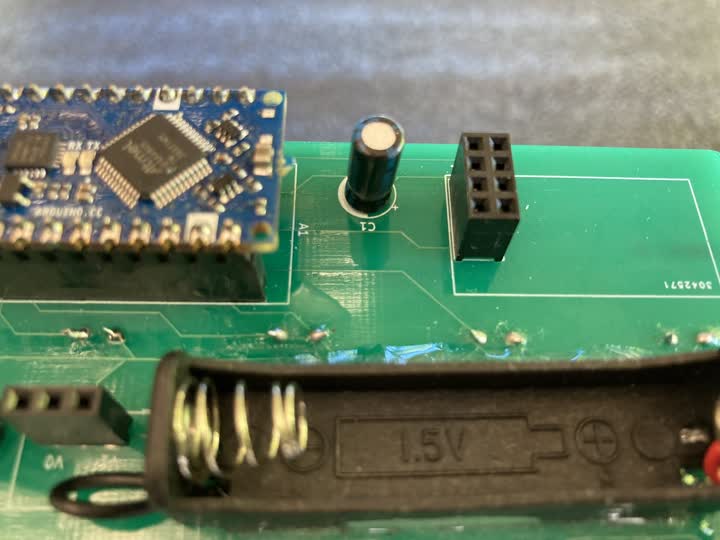
Solder a 100uF capacitor to
C1.Mind the polarity.
-
Insert the
nRF24into theU1socket,
and that's the front motherboard done.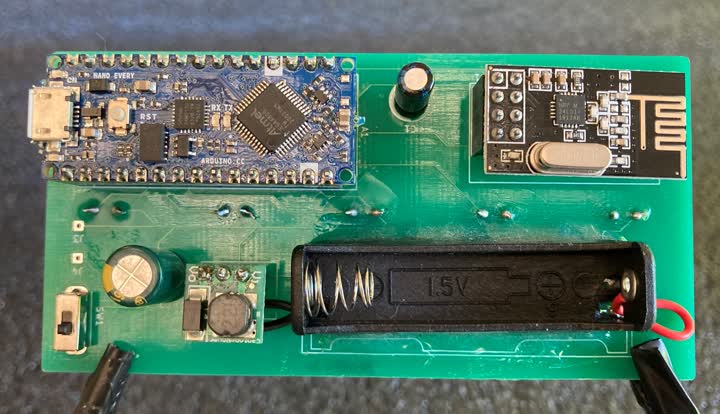
Soldering Back PCB
-
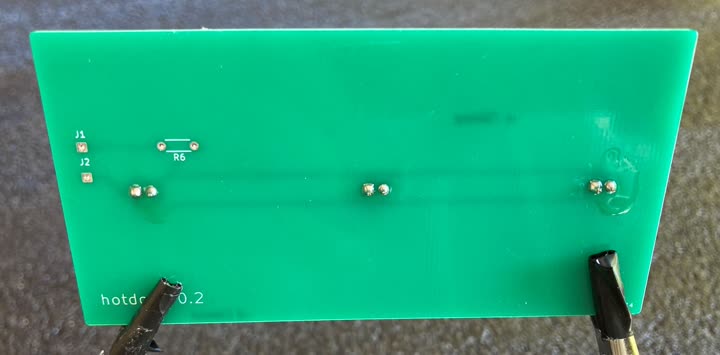
Solder the LEDs to
D1-D3.Pay attention to polarity; one of the sides
on each LED is flattened, line that up with
the drawing on the PCB.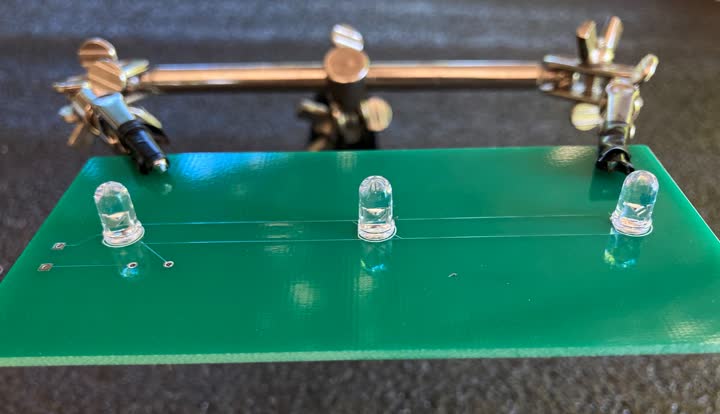
-
Solder a
1Kresistor toR6.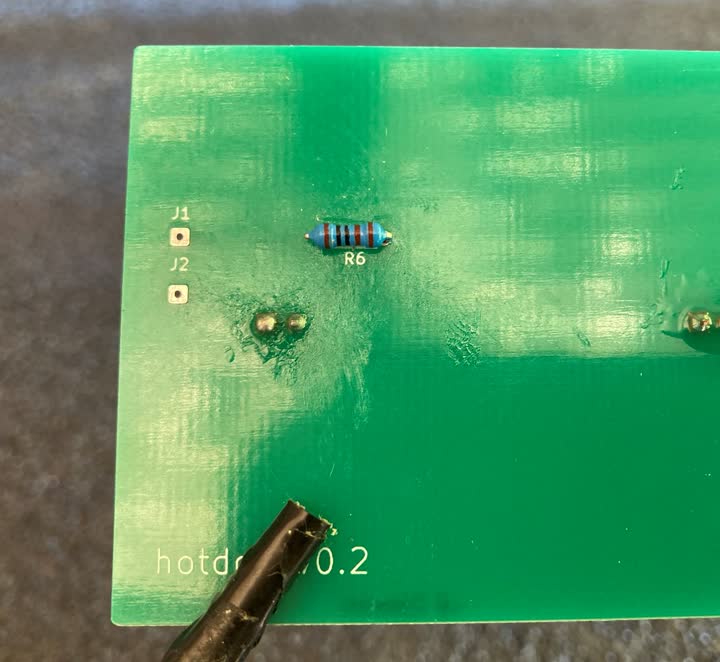
-
Connect
J1toJ4andJ2toJ3
with12cmlong hook-up wires.Solder those in as well.
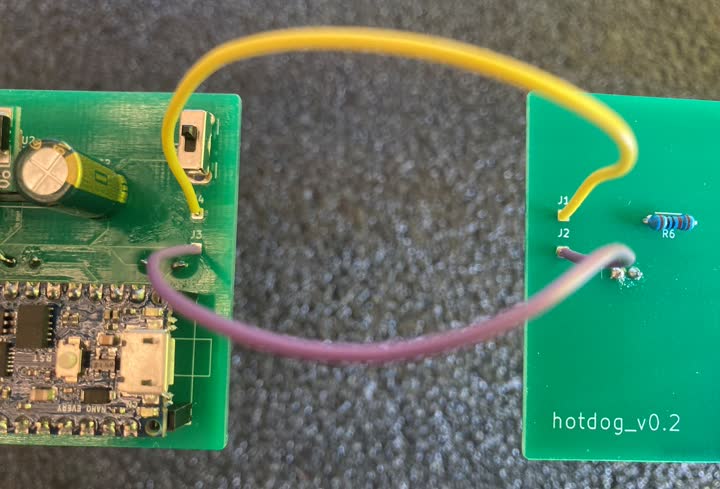
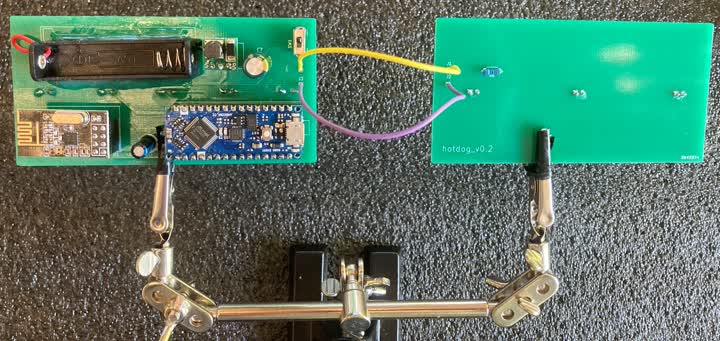
The motherboards are now complete.
Final Assembly
-
Slide the PCB into the casing:
Front PCB ➞ Top Casing
Bottom PCB ➞ Bottom Casing
Make sure the LEDs and the photo-resistors
all face inwards, where the sleeve will be. -
Secure each PCB with a zip tie and
the cut-off end of another zip tie. -
Add the sleeve.
-
Use zip ties to bind the two casing
parts at their open ends together.Fasten the zip ties just tight enough that
the casing won't separate from the sleeve. -
Secure the other end of the casing
to the sleeve with rubber bands. -
Insert the battery, power it on and serve.
Operation
In wireless mode, the Hotdog is powered by a single
AAA battery that should last you about 2 - 3 hours
on a single charge.
I recommend using a rechargeable one.
There's no battery level indicator, so recharge frequently.
I'm still working on the client app for
wireless, but it's already looking great.
Stay tuned!